Installing The Spats
For Printing: PDF version of this page
Installation of the spat is easier when it and the body is warm.
Don't take the protective tape off the edge with the velcro.
Using Wax and Grease Remover, clean the backside of the fender where the spat will be wrapped around.
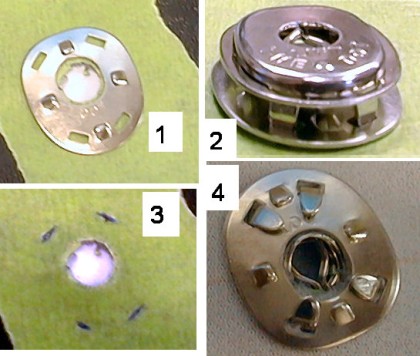
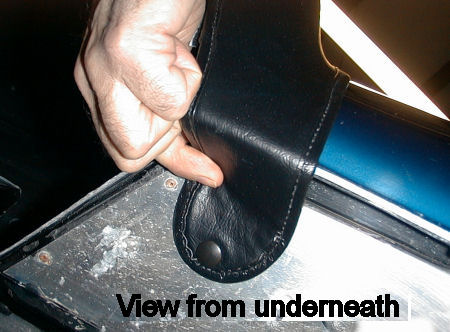
Attach the Lift-a-dot female to the second tonneau snap on the top after marking the location with an awl or grease pencil. See below for details.
Stretch the bottom edge over the bottom of the rocker, lining up the front edge of the spat just behind the edge of the door opening.

Lift-a-Dot Installation:
Punch a center hole in the fabric. Use the snap backing plate as a guide to make 4 small slits in the fabric with a sharp knife. If you don't want to cut the holes directly, use masking tape to cover the hole. Press the outside piece into the paper to make a mark. Then, accentuate the marks with a pen, and cut the slots.
From the outside, insert the prongs through the small slits. Install the snap backing plate to the underside of the material, bending the prongs to secure the snap.


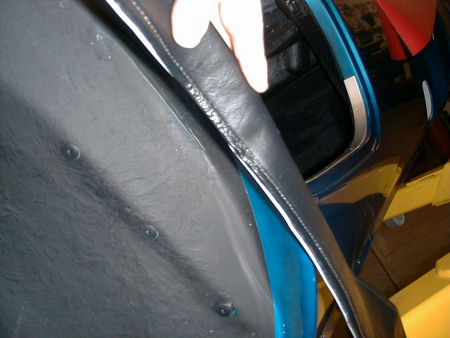
Check the fit onto the body curve. If it's OK, remove the protective tape from the back of the Velcro.
Starting at the center, press the sticky side of the Velcro against the inner fender, trying to keep the spat surface as unwrinkled as possible.
It doesn't have to be perfect.
Leave it in place for an hour before you try to separate the Velcro.
The fit can be adjusted each time you install the spat.